Police Detector Invisible Grill Install
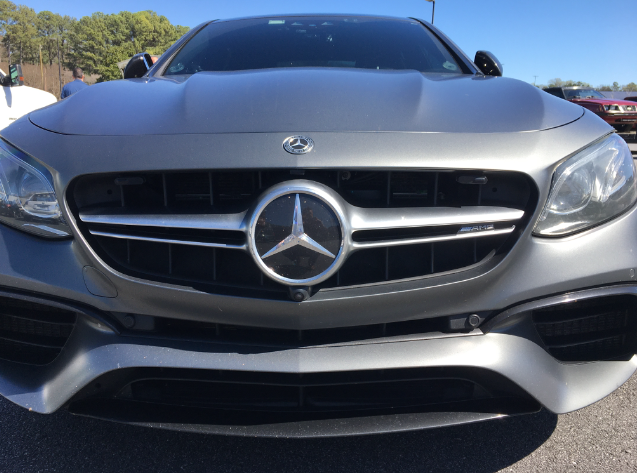
Grill must be Radar Transparent same as for a radar detector

Police Detector PD Solo/ PD Pro Quick Install for Testing
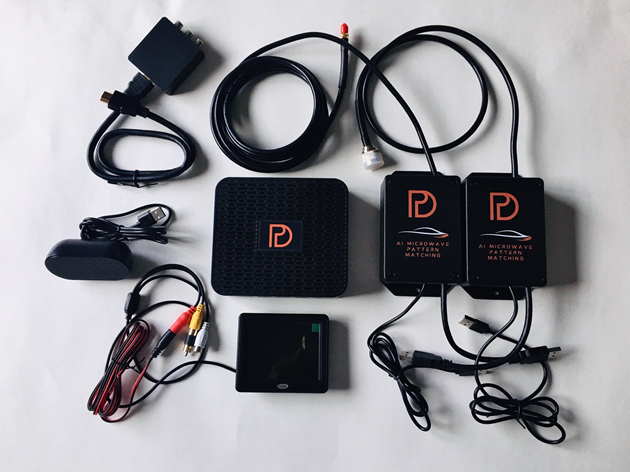
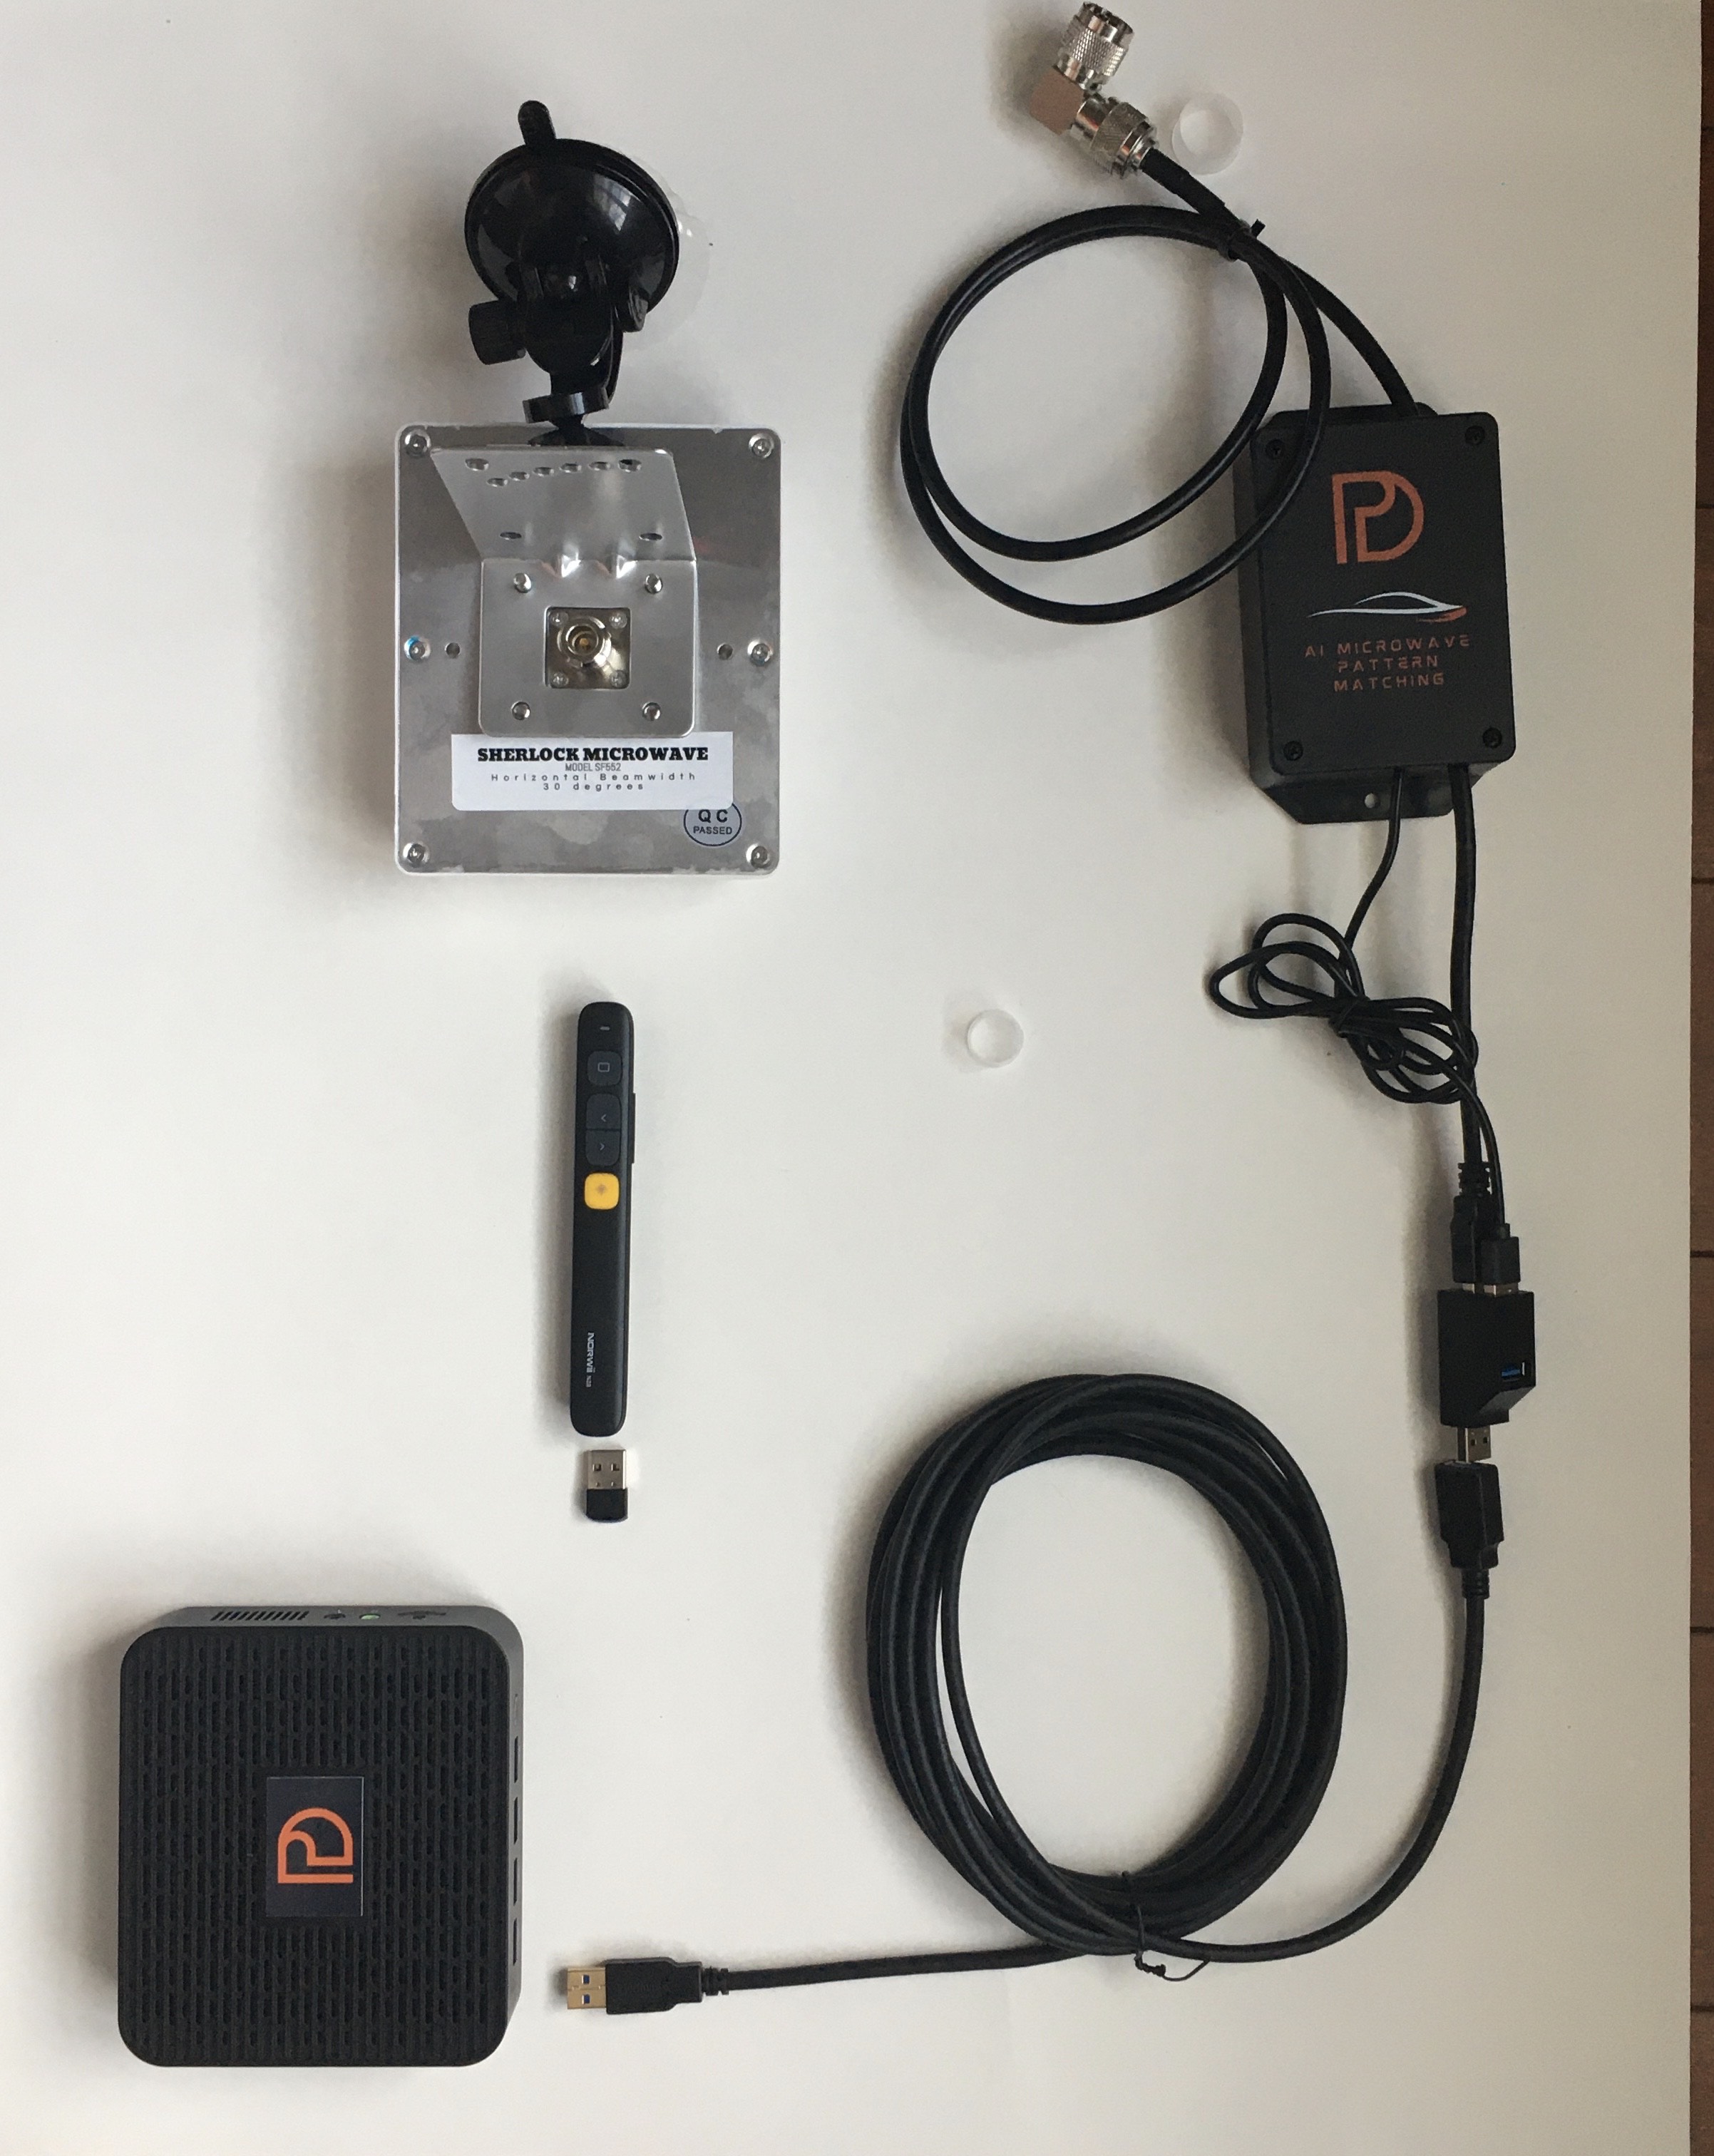
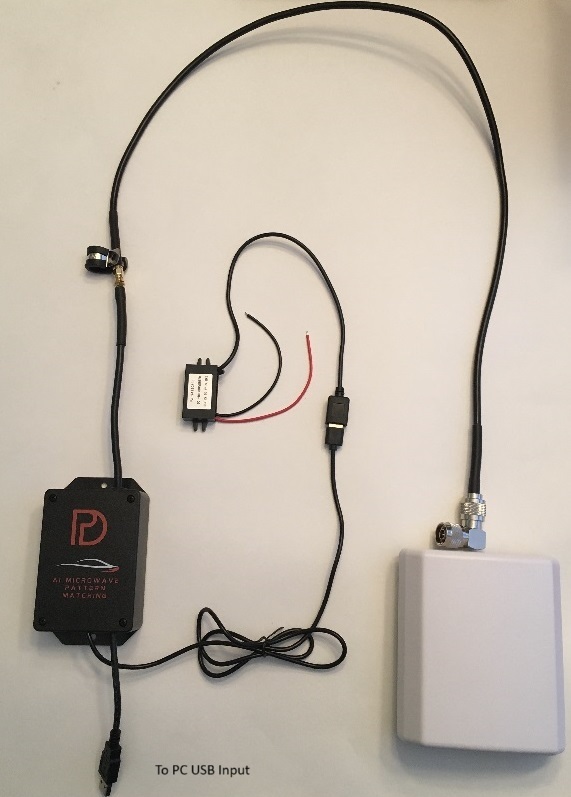
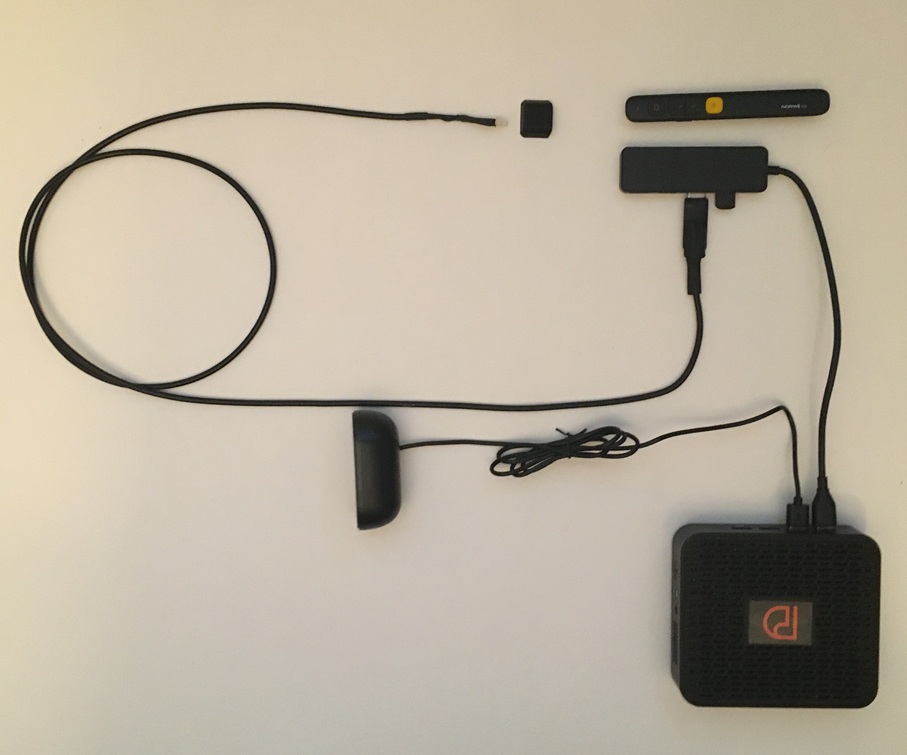
Set Up the Antenna on the Magnet Mount (put the big angle bracket on the back of the antenna-remove rubber covers and use washers and nuts to assemble), Sit LNA on Dash(The black retangular box), run 15 foot USB extender to the Main Unit. Put main unit in backseat area and plug the lighter cord into the main unit and 12 volts
In the Photo the remote has a usb to plug into the main unit, the triple usb extender plugs the two LNA connectors together to the 15 foot USB extenter, (not shown) the USB speaker plugs into the main unit (never use extender for speaker).
The 3 foot LNA extender connects to the antenna.
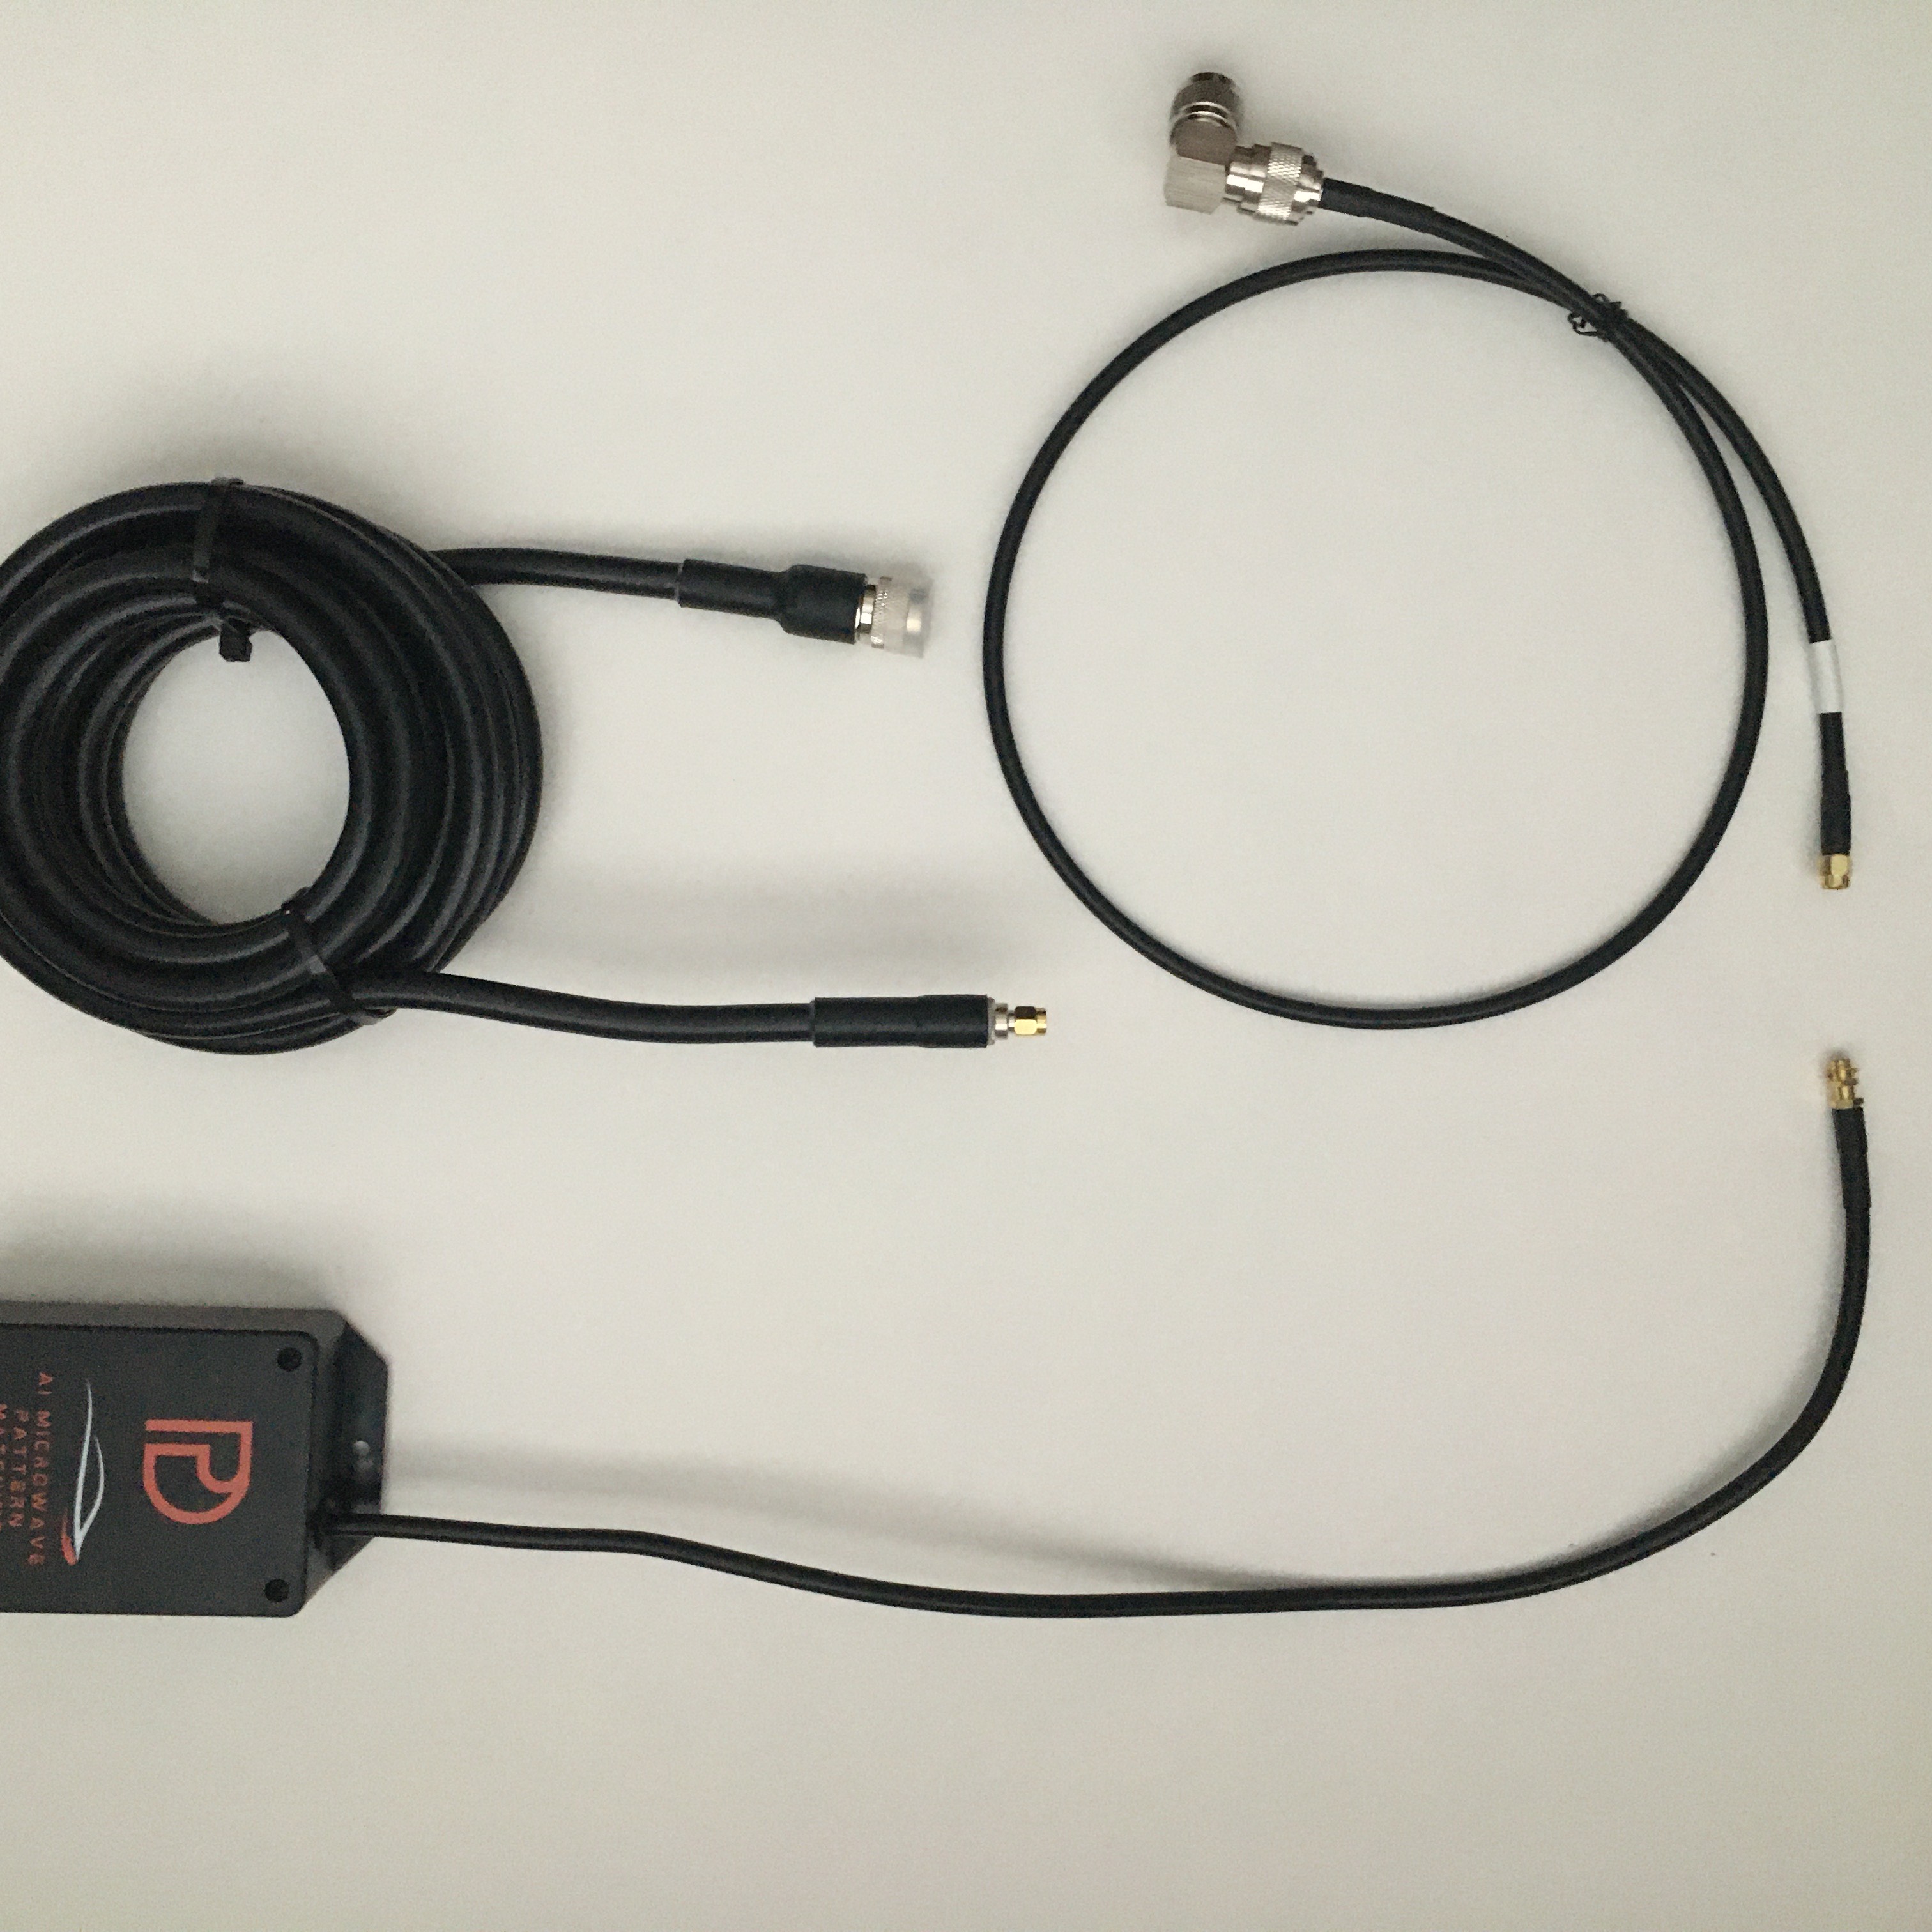
In the Photo the 3 foot N connector is for the quick install, the 15 foot cable is swapped for the 3 foot for the permanent grill install.
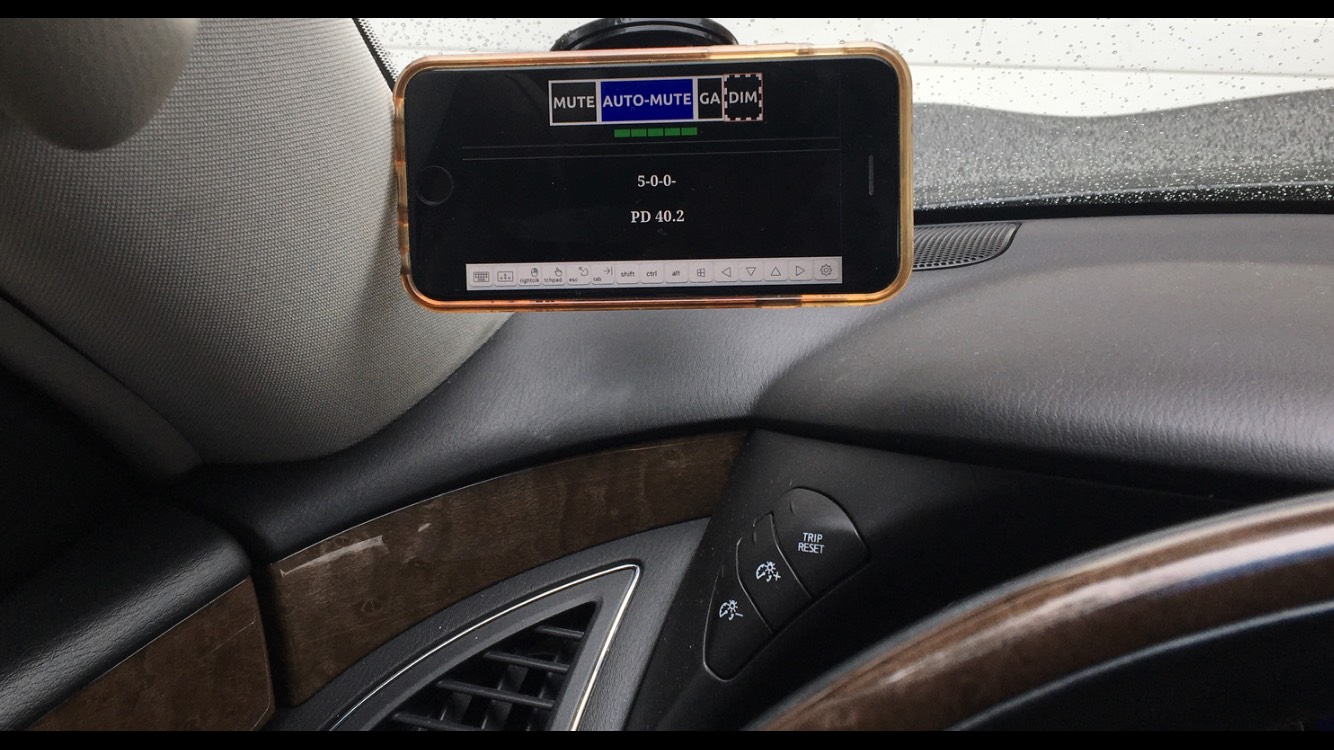
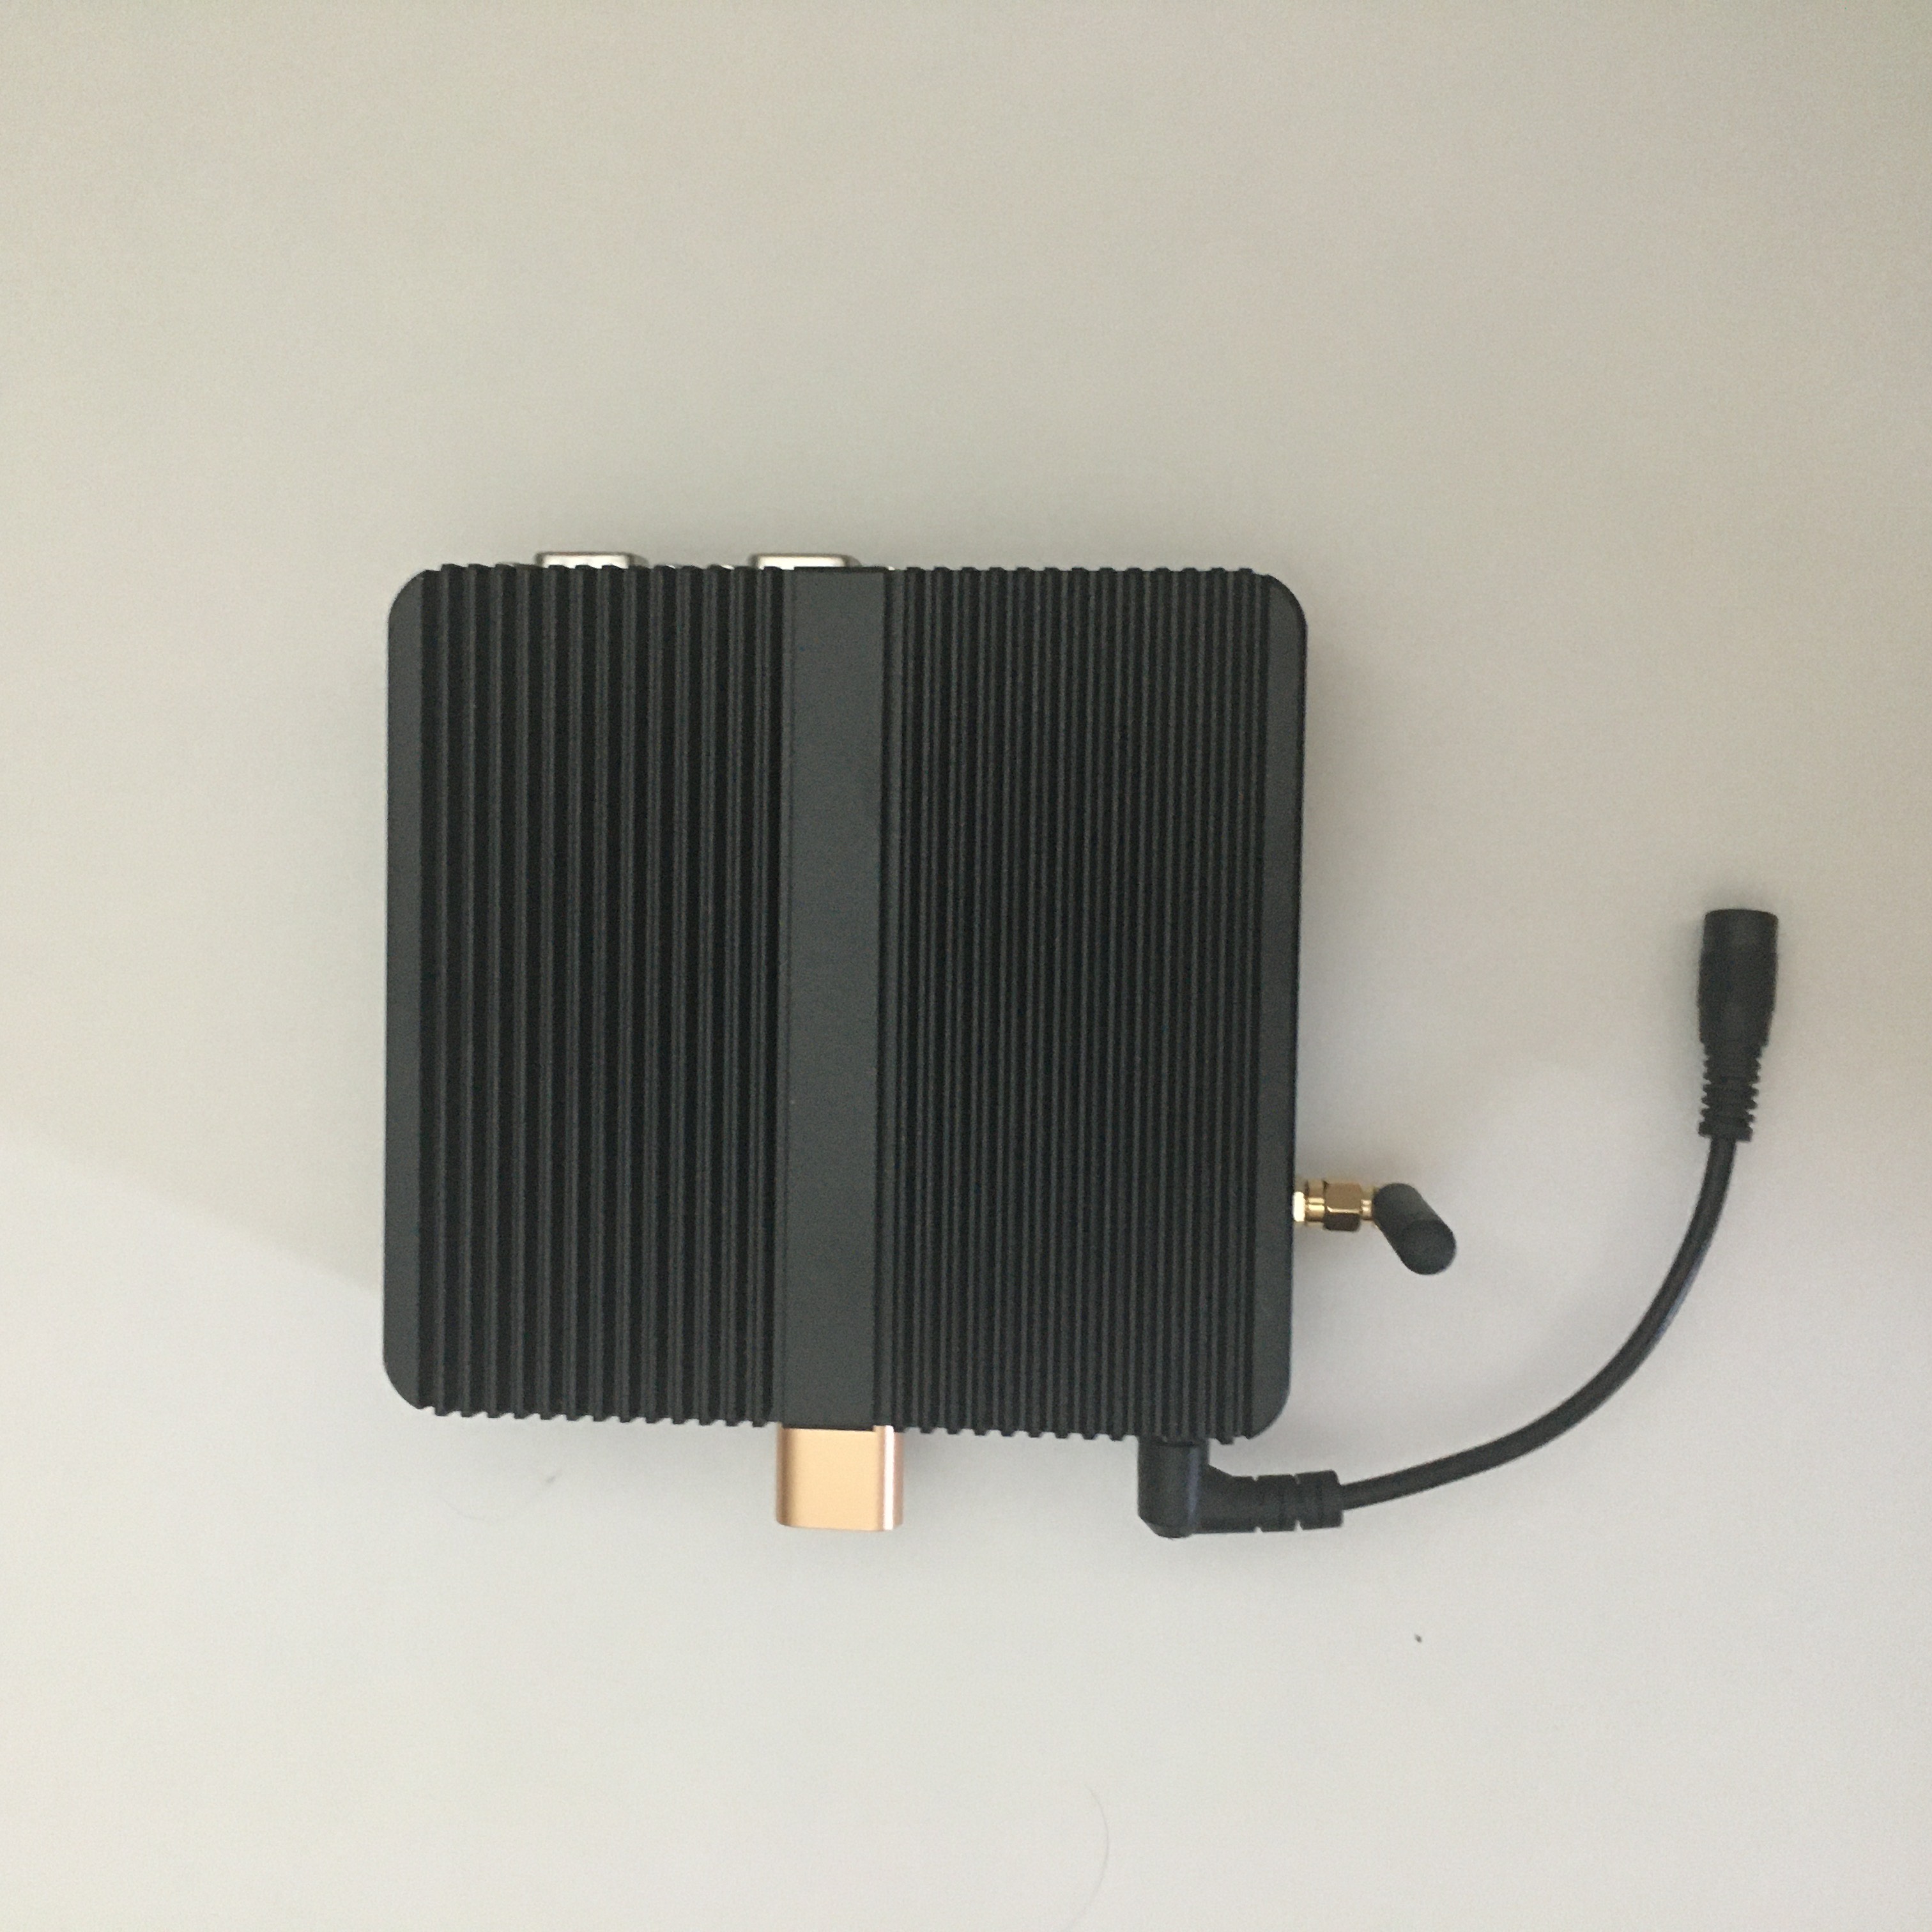
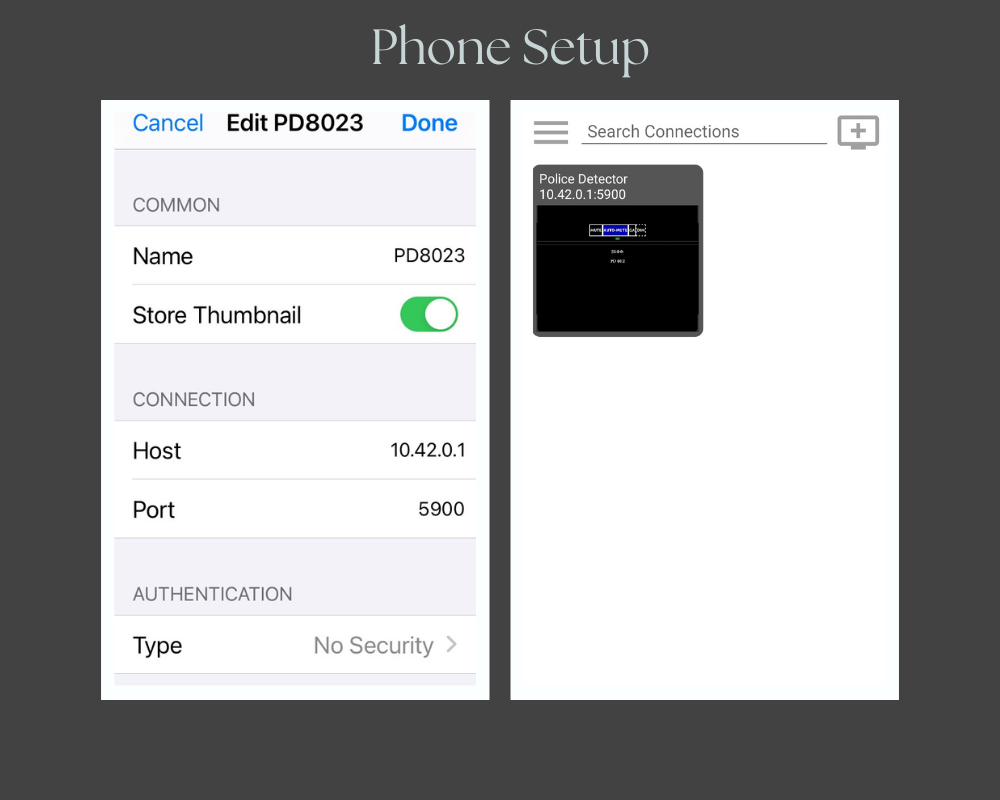
For Phone Display with no monitor put the HDMI Dummy plug into the HDMI port of the main unit as seen in the photo. If you have this J5005 model add the wifi antenna to the side of the unit where power input jack is.
Note that when the system is hooked up the first time the screen may appear small. Just touch the phone screen and it will expand or reboot.
Police Detector Pro Full Install Summary
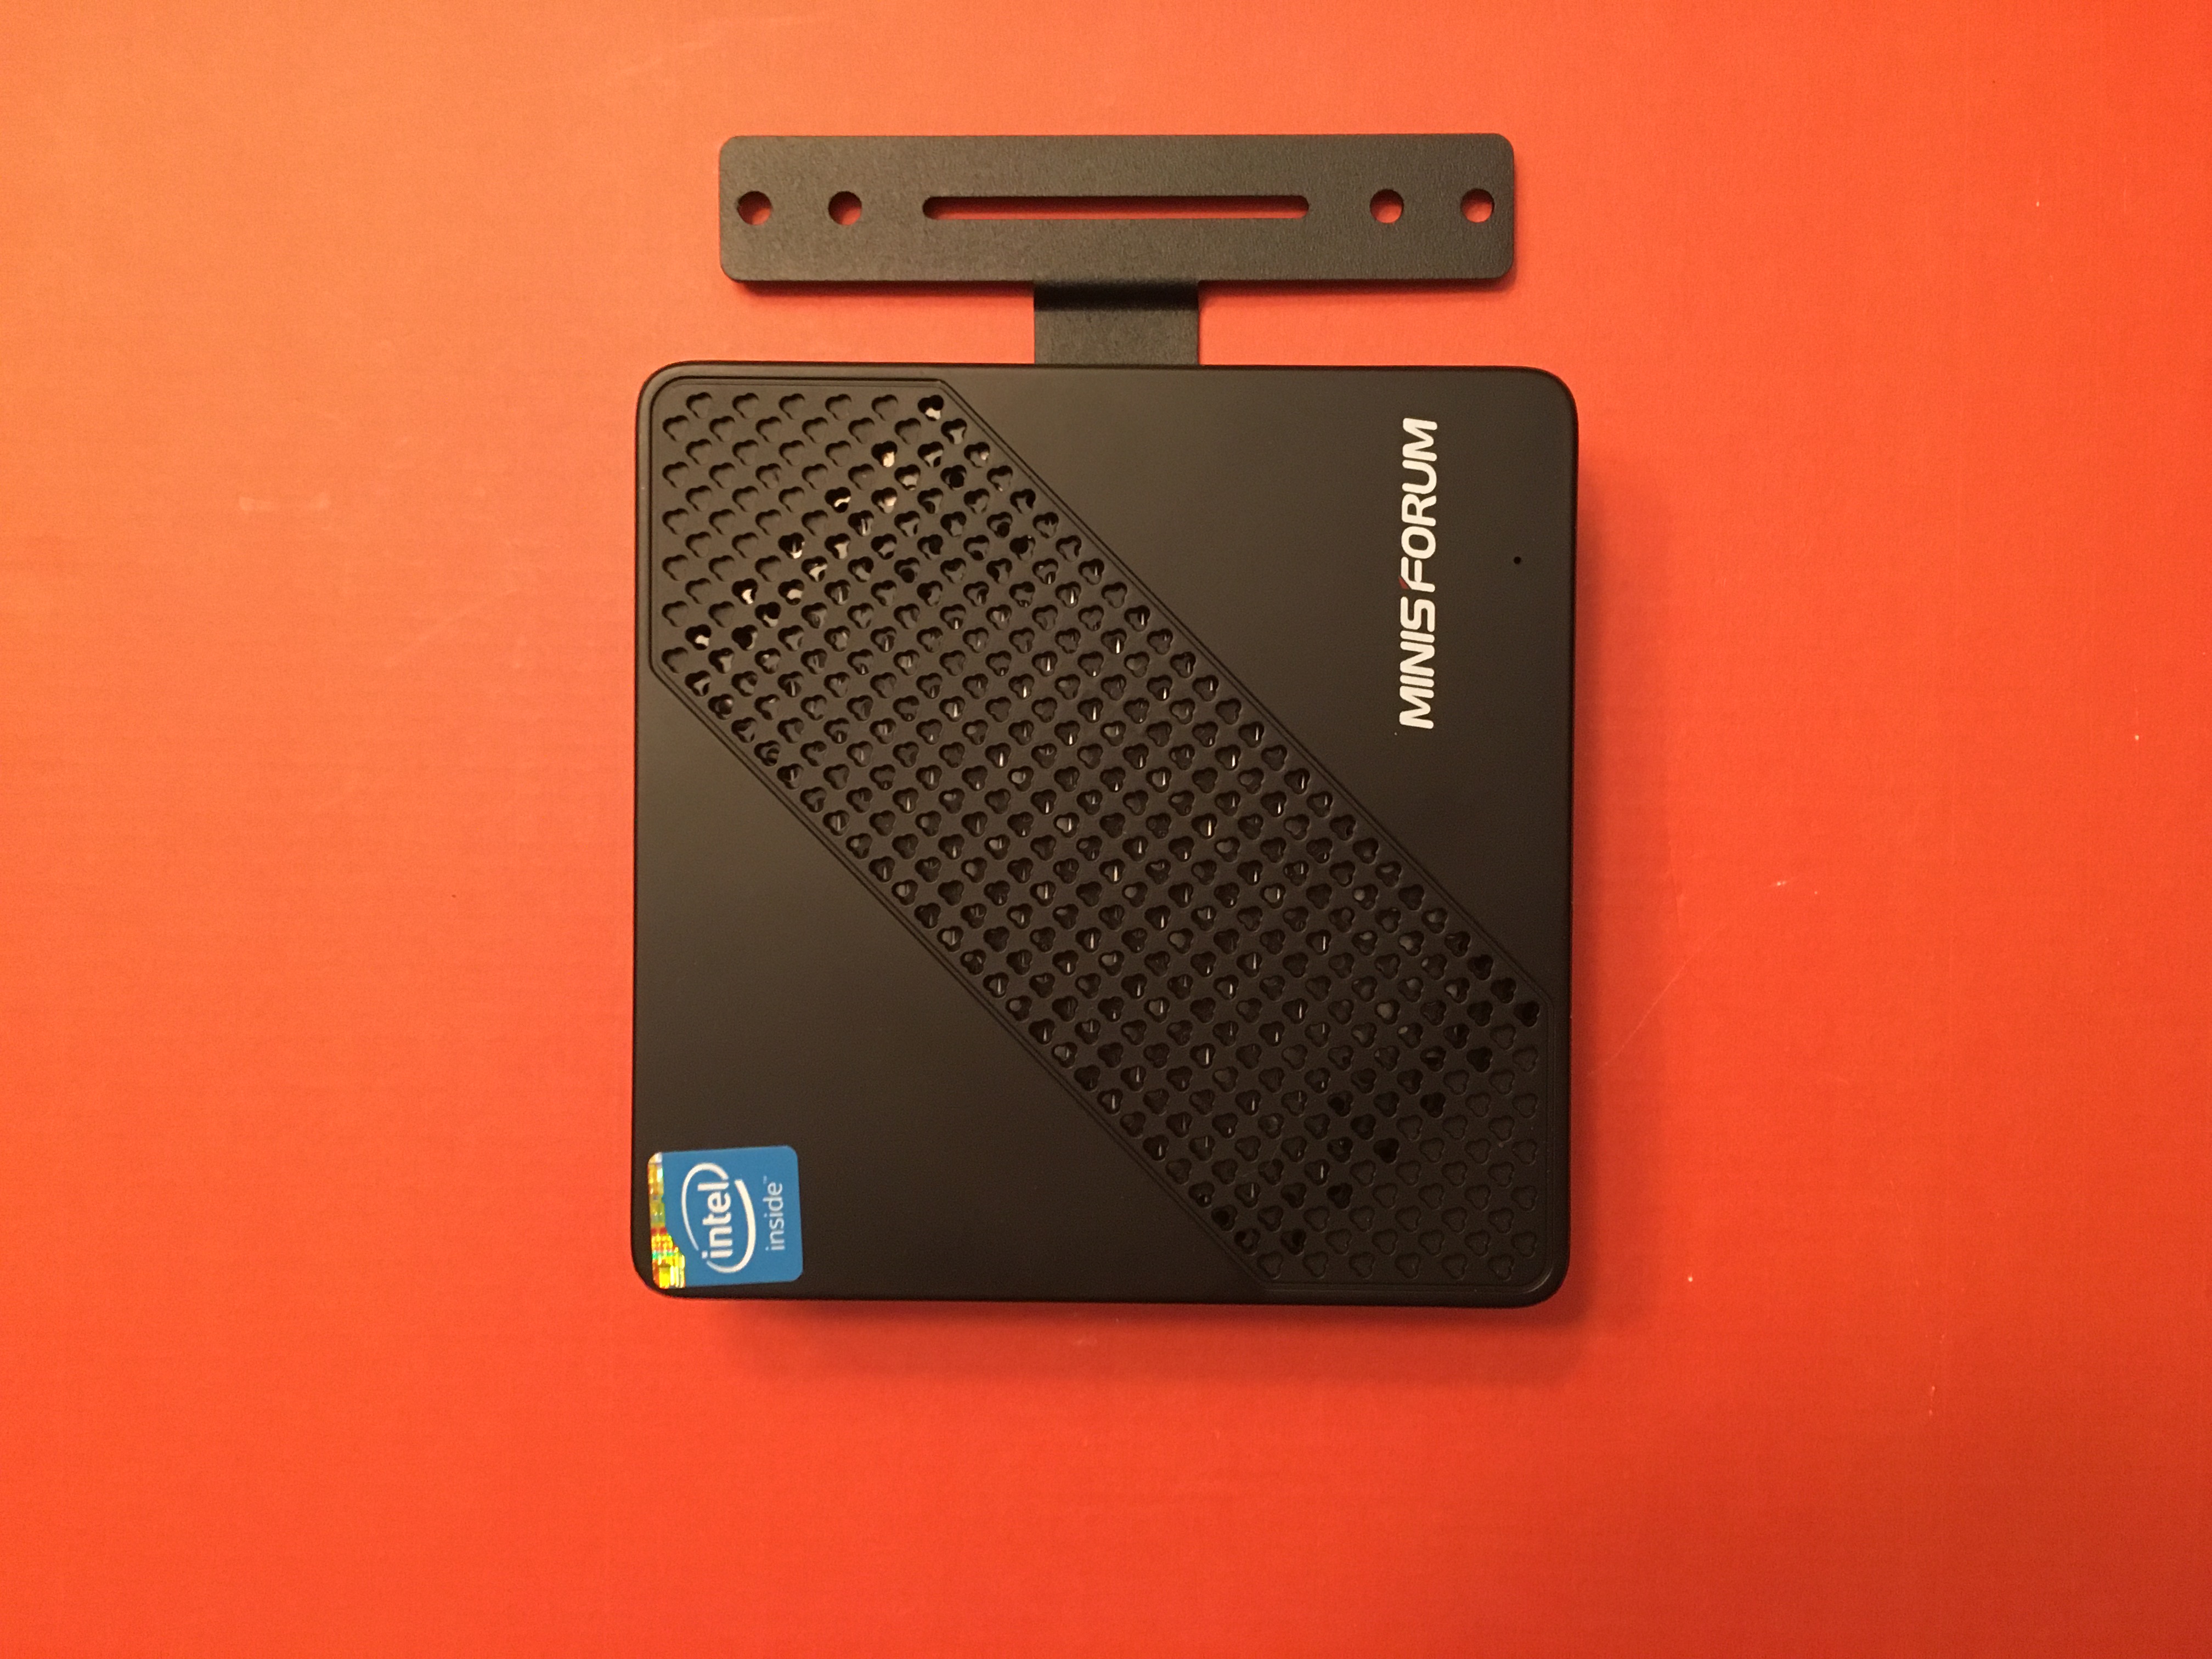
1) Install under dash or behind the seat. There must be airflow for the heatsinks!(Shown with Mounting Bracket)
Make sure to leave enough room to access the computer's 3 usb ports for updating the software
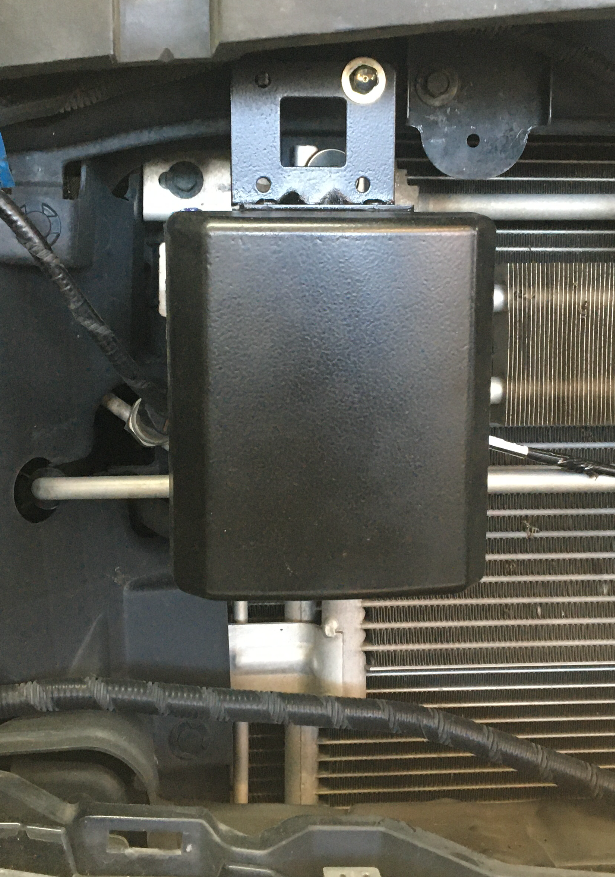
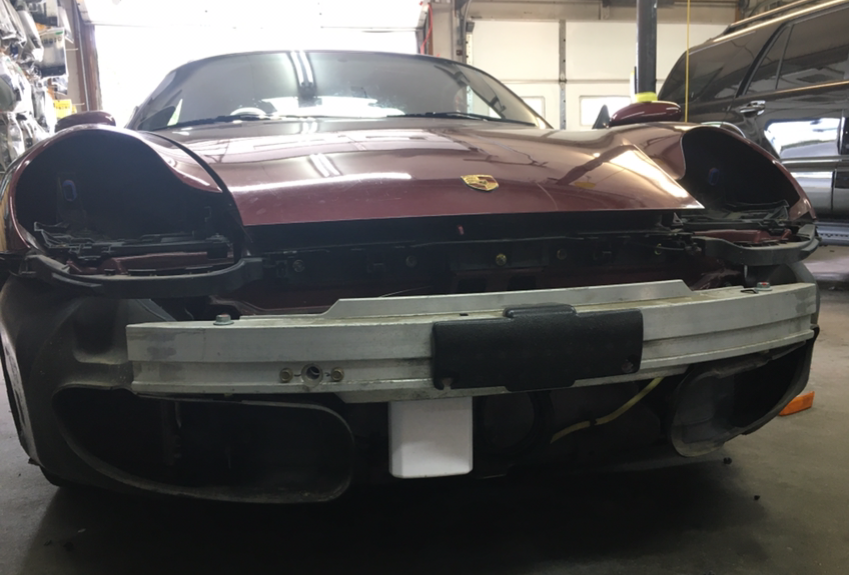
2) The Antenna is mounted in the Grill or in the Sports car Bumper Driver's side.
Stealth Antenna Mount in Grill - (Front Engine Car)
Antenna in Bumper Shell- (Mid Engine Car)
3) The LNA box connects the Antenna to the Microwave SDR/LNA Box.
4) The two Microwave SDR/LNA Boxes connect the the main computer unit though the two USB connections in front.
5) The USB Speaker connects to the USB port directly, never through extender. Extend the Speaker using the 10 foot USB extenders. They can be chained.
7) 3" Video Monitor with HDMI to Video Converter (optional) or In-Dash LED Standard
8) The System should be wired to Ignition Power and have the Constant on Bypass Switch so the system can be used either way. Constant on is more convenient for traveling with the wireless display on the phone.
9) The System should have an Ignition Power bypass switch (included) for constant power for long distance driving using the phone as a control/display (based on user preference)
10) The optional LED Display and twin LED module are connected to the PC through the four way extender along with the remote USB when running both front and back antennas. For two antennas the LNAs should be powered through 12 volt to 5 volt adapters supplied and connected directly to the main unit. USB speaker is always connected directly to the main unit, never through extender.
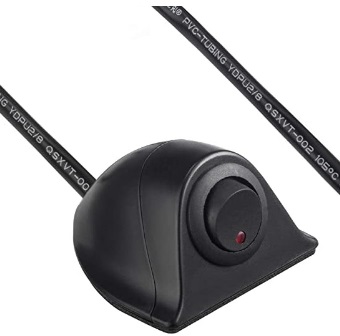
(New)The Stealth Grill option includes a very small super wide band, high gain rear window antenna
Rear Antenna Mounting
Location: Inside rear glass, passenger side, about 2" below the headliner and 2-4" in from the side edge.
Orientation: Adjust antenna vertical pointing down .
Mounting: Clean glass and antenna base with isopropyl alcohol. Apply 3M VHB 4905 clear tape (removeable) to antenna mount, position carefully, then press firmly to glass for 30 seconds.
Cure Time: Allow 24 hours before driving. Full bond strength in 72 hours.
Cable Routing: Route the thin cable immediately into the headliner, down the passenger-side rear pillar, and hide the thicker cable inside trim on the way to the LNA.
Avoid: Bottom-of-glass mounting, horizontal antenna position, and thick defroster edge lines.
Install Detail
Stealth Antenna Mount (Rear or Mid Engine Sports Cars or Front Engine Sedans)
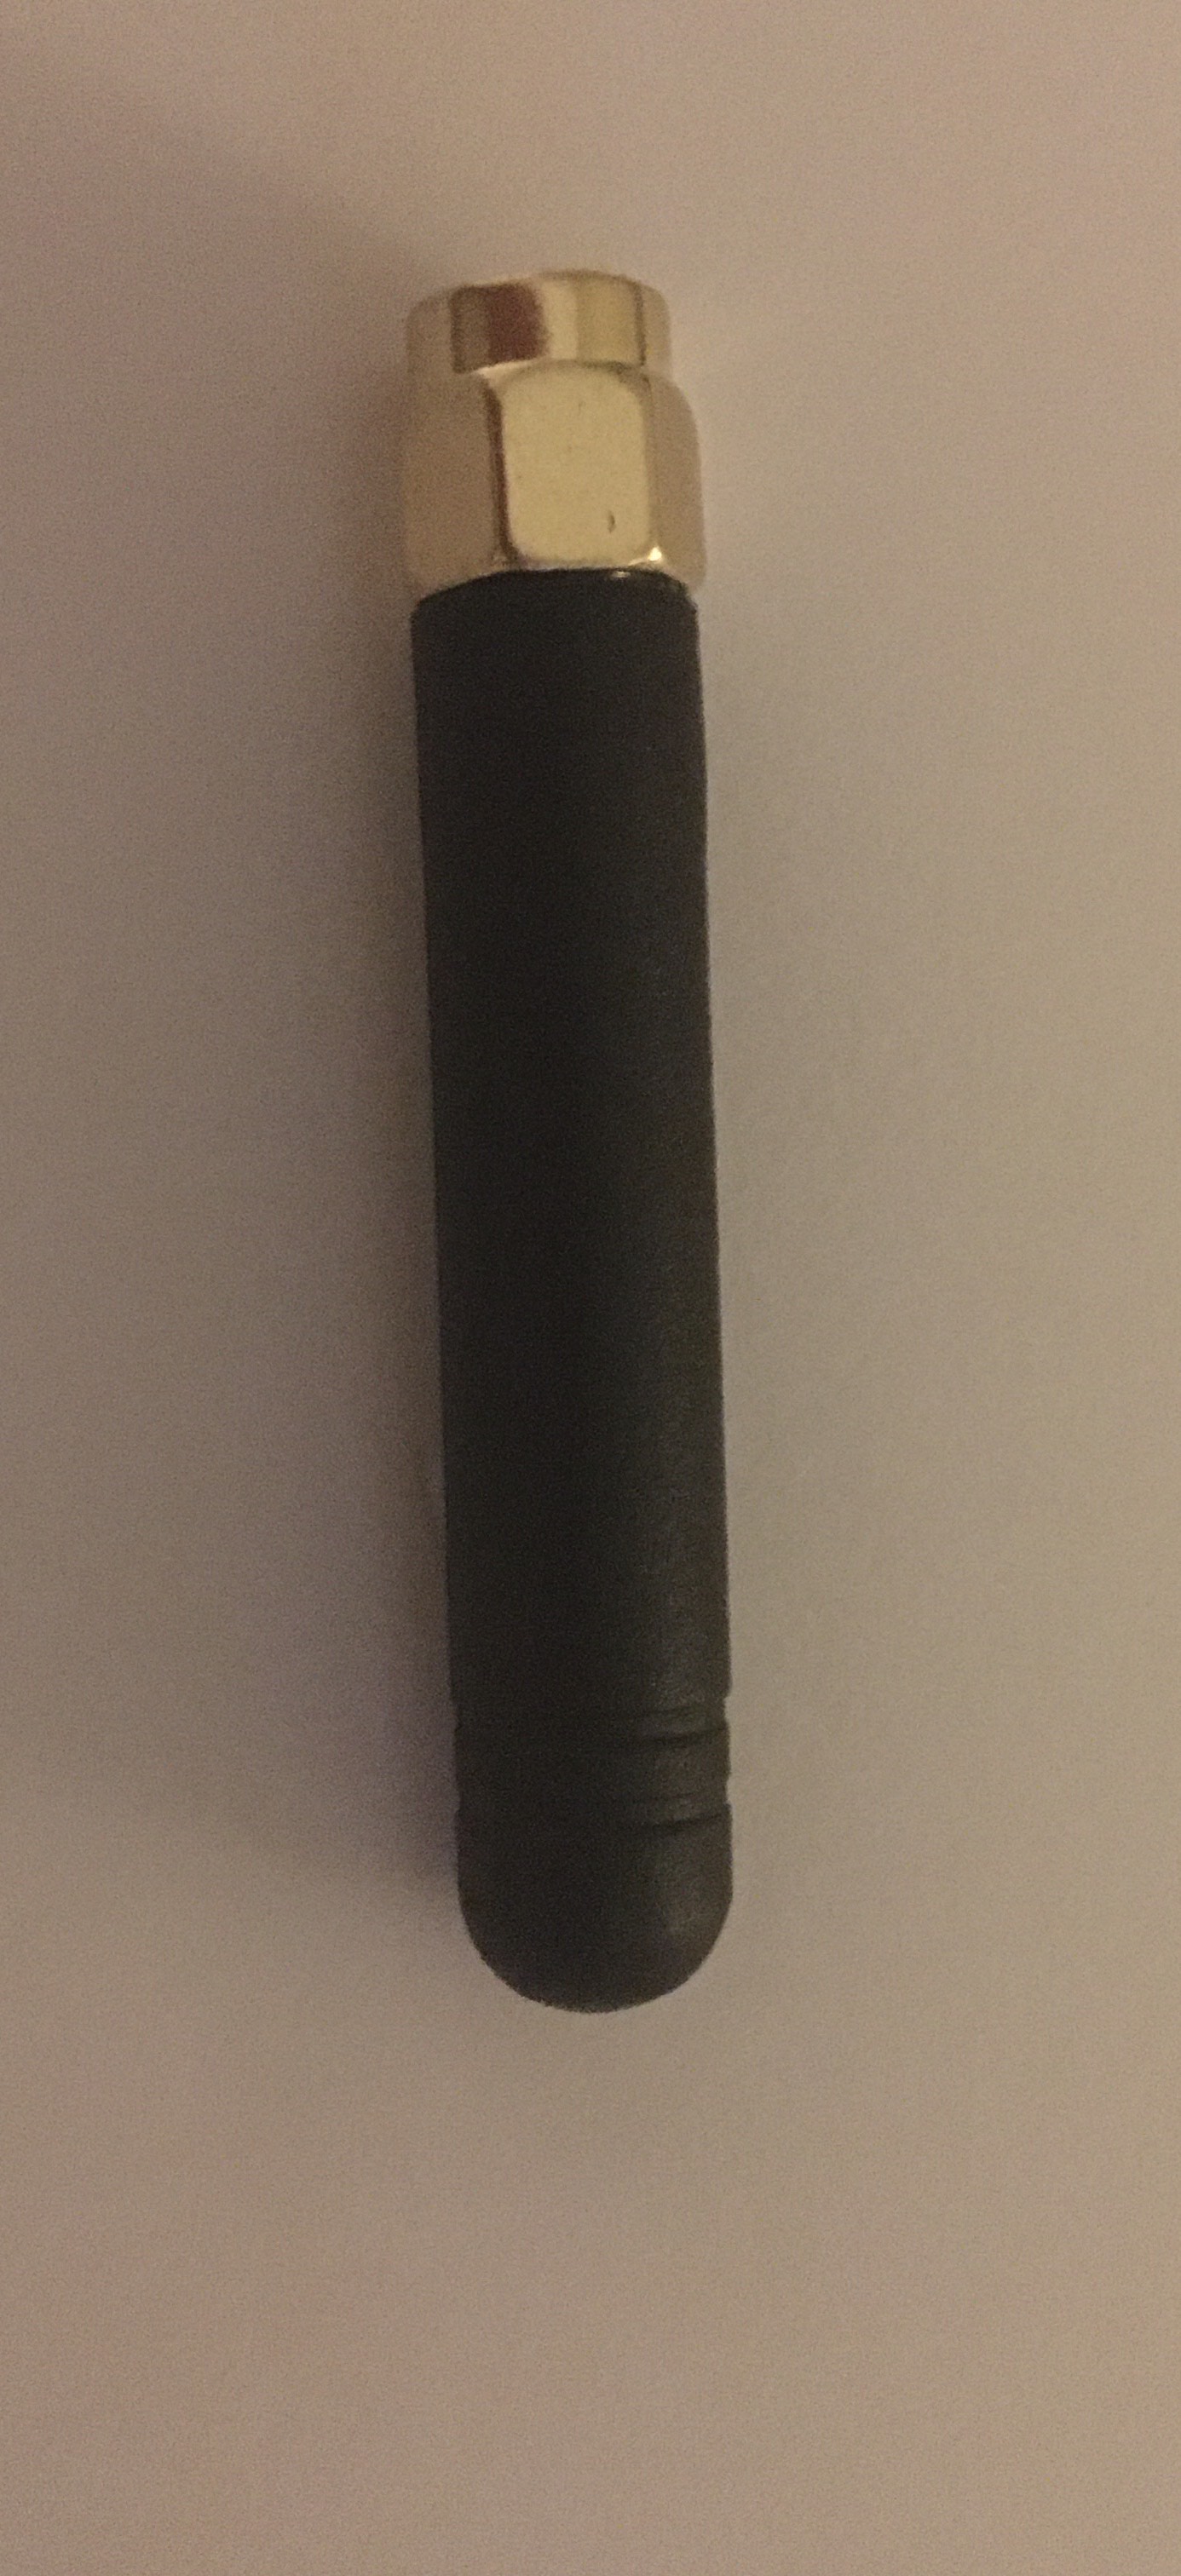
The 5" white antenna should be painted or rubberized black if installing in Sedan grill. The 3ft N connector goes to the antenna through the 90 degree angle adapter.
The connector is 12 ft for Sedans. It's connected by an SMA connection. This connection is very important: Make sure its tight but don't break it And
use the steel rubber mount to clamp it to the vehicle.
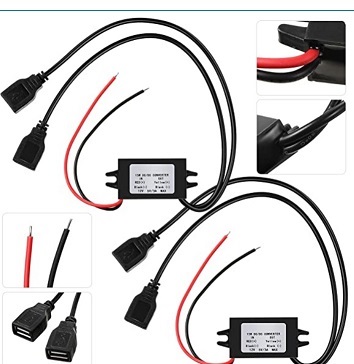
The long USB from the LNA box goes to the 12 Volt to 5 Volt converter. Hook the red and black connections of the converter to Power and Ground Ignition.
The short USB from the LNA box uses the 10 ft or 15 foot USB extenders (Do not chain the antenna usbs connectors) to connect to the main unit on the side with 2 USB ports.
It's the same for the Rear Antenna assembly below.
The front in-grill antenna can be installed under the bumper inside the bumper shell. Includes bracket and nuts. Then connect the antenna to
the 3 foot N connector to the LNA and brought inside the front trunk.
This Front-Trunk version of the LNA has a six inch SMA to the microwave SDR dongle.
The microwave SDR dongle is connected via USB to the main computer USB.
Rear Window Antenna
Rear Window Antenna -A 1 inch super wide band antenna with pre-amp LNA attaches to the Rear Antenna LNA. The connections are similar to the front antenna as described above
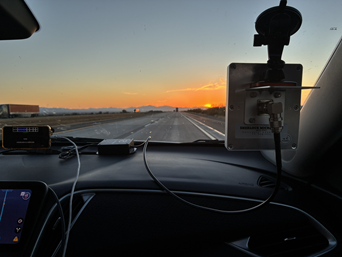
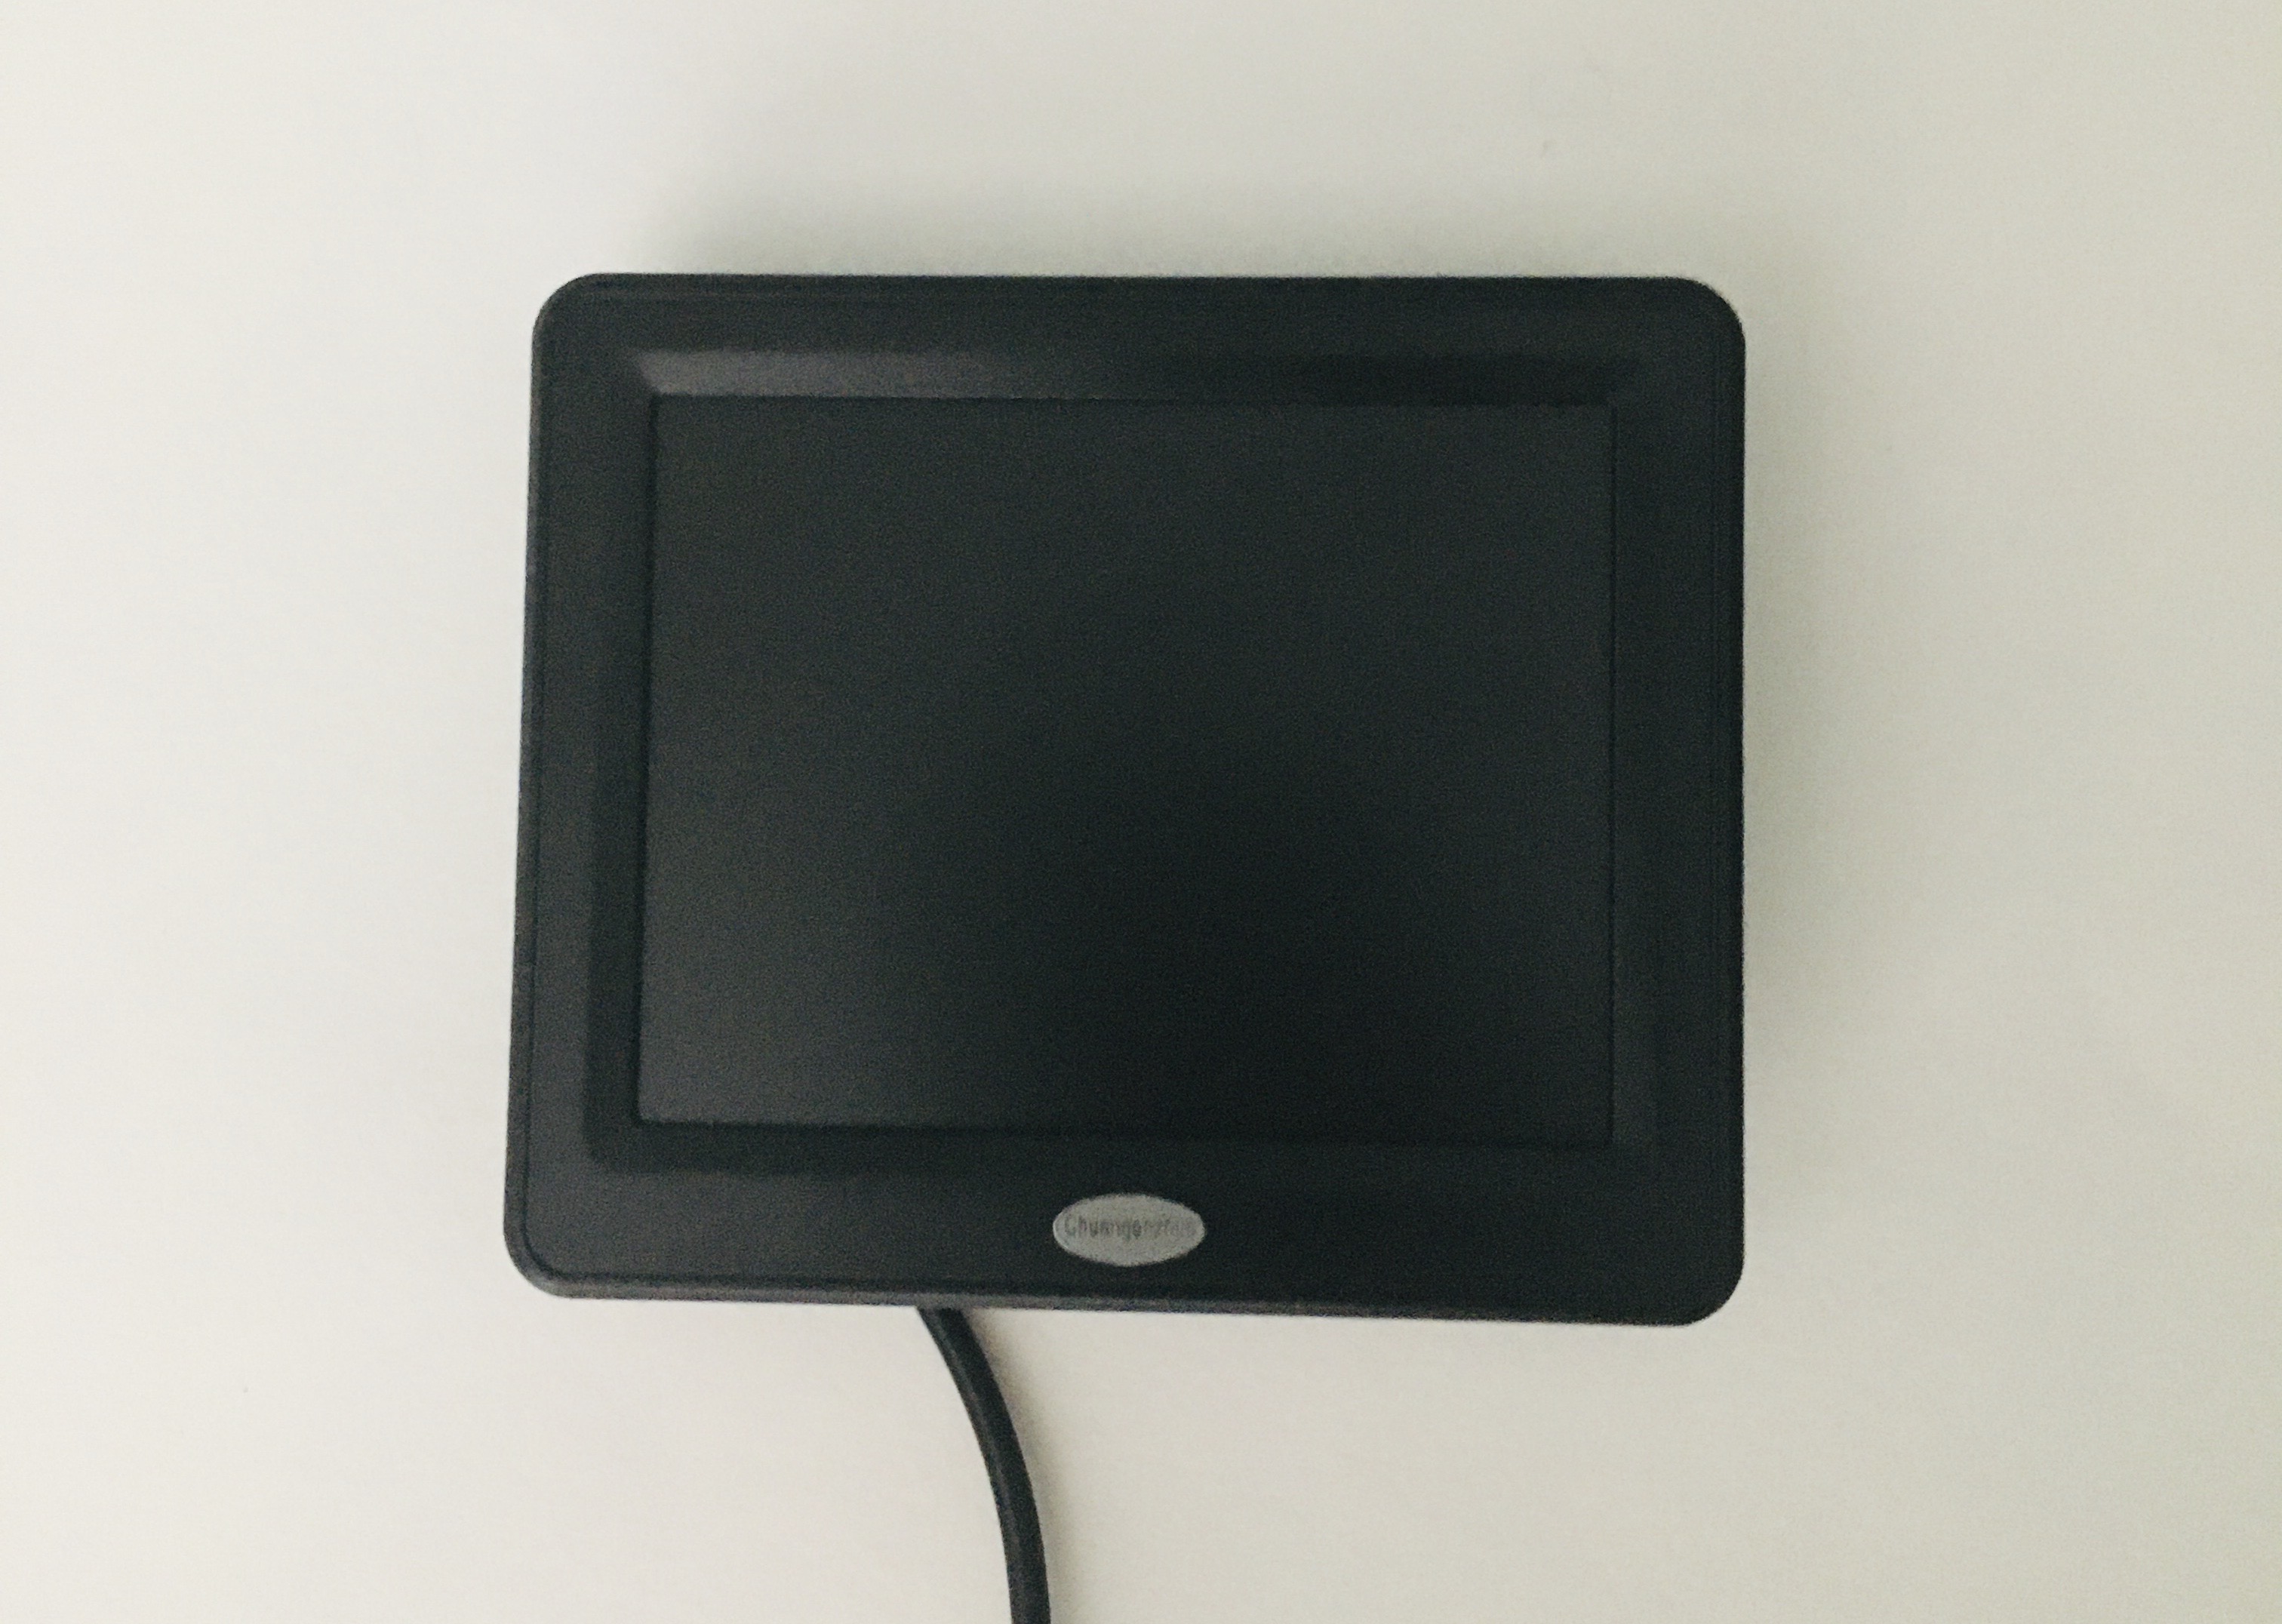
3" Thin Monitor Display (optional)
Use a custom cell phone magnetic mount designed for your car to mount the three inch monitor
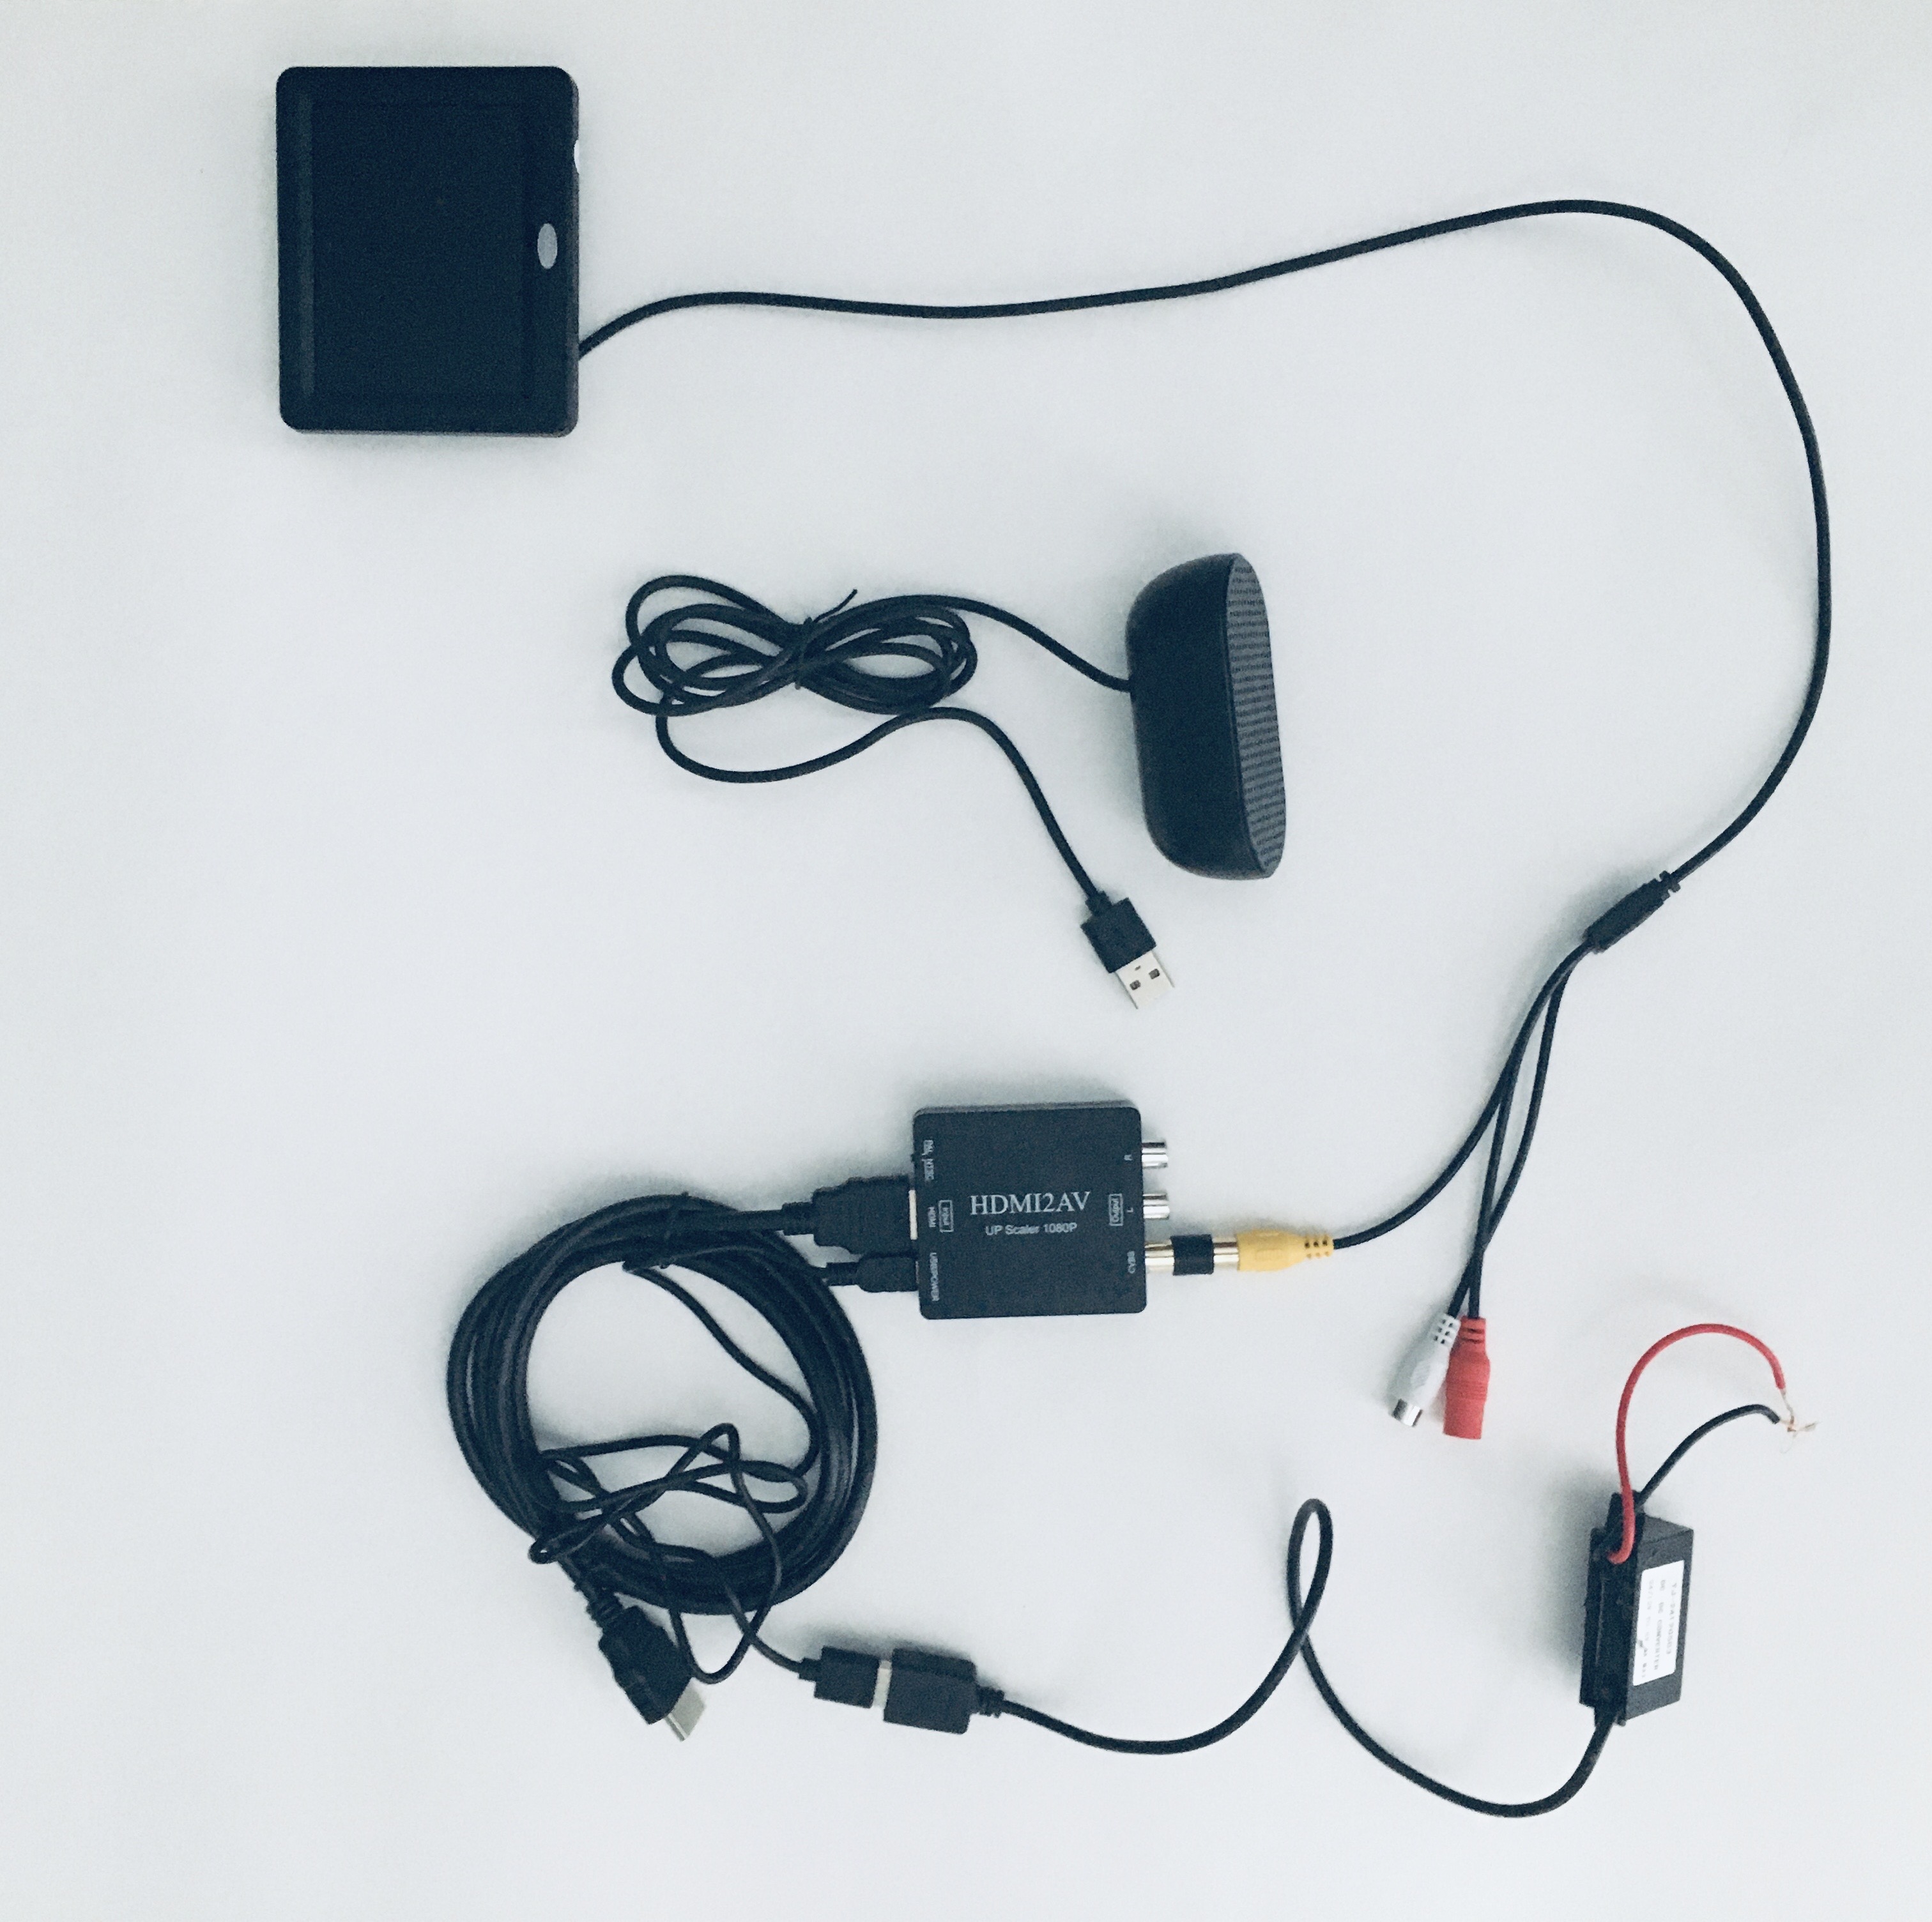
The 3" monitor includes a pre-assembled Video to HDMI converter and 15ft of ultra-thin HDMI (Directional - Be sure to match the TV end to the HDMI to Video converter).
The converter requires 5 volts and connects to auto power 12 volts through the 5 volt to 12 volt converter-Marked red to power and black to ground
The monitor has a connection to an external power jack and a mating jack is supplied - Red to auto power, black to ground
New LED display
The new LED display can be mounted in the dash panel for a smooth subtle custom look. Your jammer or radar LED can be mounted in the display pod or separately.
LED Pod plugs into the USB port through the USB Extenders to the USB input module placed under the dash. Then there is a five foot three wire slim cable to the LED to run up to the dash area or placed in an AC vent
LED Display wiring and USB speaker
Use the Extender for the remote and the LED Display. Never use extender for the USB speaker